Congratulations on your new kiln! Whether you’re a seasoned potter or just starting out, test firing is a crucial step in ensuring your kiln is functioning properly before you invest time and materials into your pottery. In this guide I will walk you through the process, from pre-firing preparations to troubleshooting potential issues.
Pre-Firing Preparations
1. Read the Manual
Your kiln manual is your most valuable resource. Carefully read through it to understand the specific instructions for your model, including heating rates, cooling schedules, and safety precautions.
2. Inspect the Kiln
Before plugging it in, conduct a visual inspection. Check for any damage, loose wires, or obstructions that could interfere with kiln operation.
3. Prepare Your Workspace
Ensure you have a clear and well-ventilated area to place your kiln. Consider using a kiln stand or platform to protect your floors and provide stability.
4. Gather Supplies
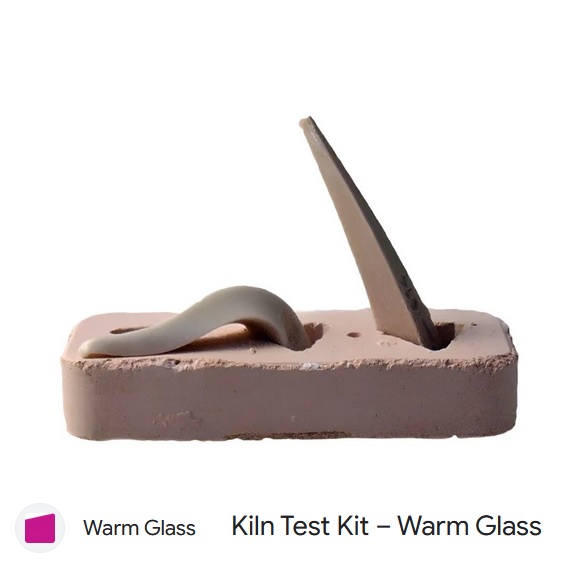
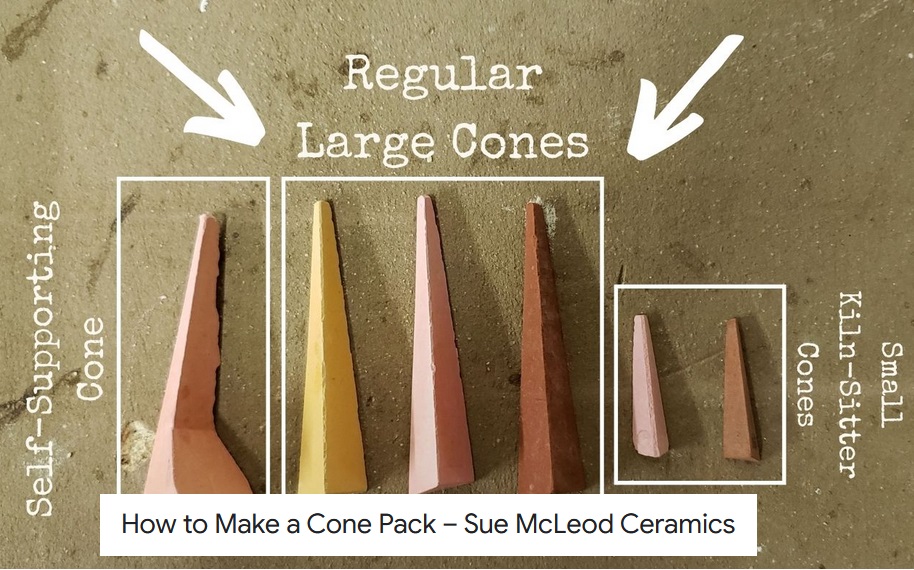
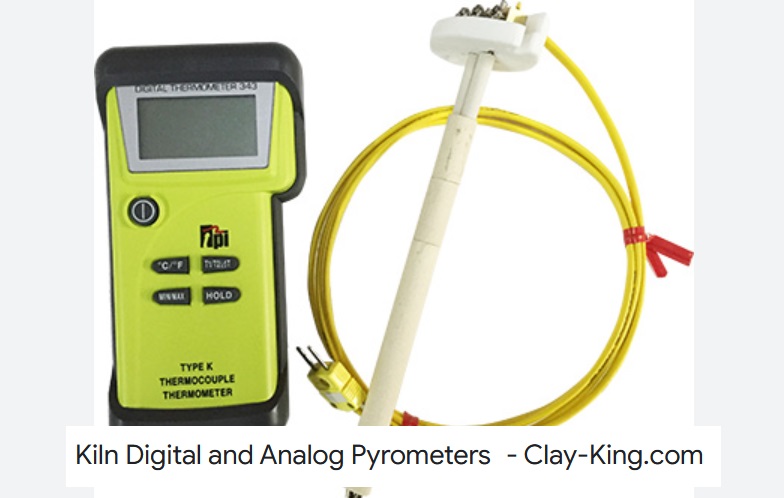
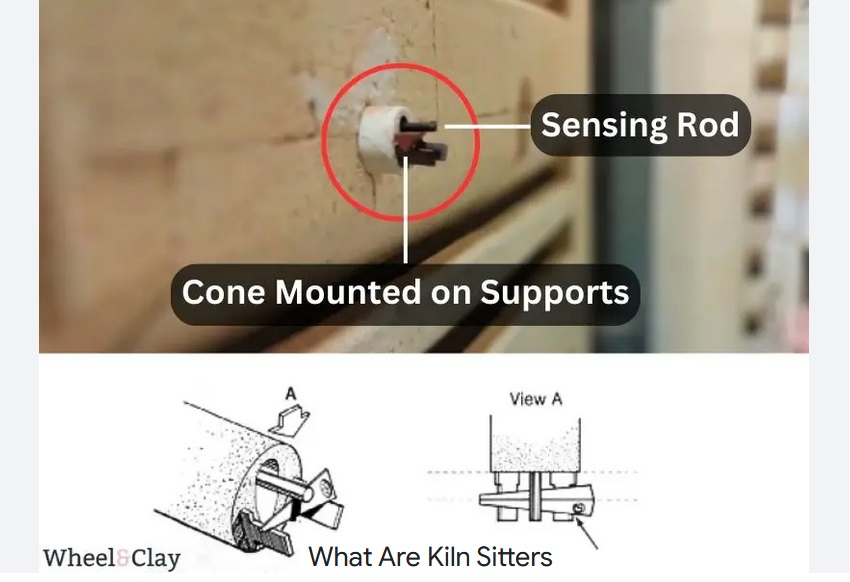
You’ll need a kiln wash, cones, a pyrometer, and a kiln sitter (optional). Kiln wash is a protective coating applied to the interior walls of the kiln to prevent damage and spalling. Cones are small, heat-sensitive indicators that melt at specific temperatures. A pyrometer is a device used to measure the temperature inside the kiln. A kiln sitter is an optional safety device that automatically shuts off the kiln if the temperature exceeds a certain limit.
Test Firing Procedure
1. Clean the Kiln – remove any packaging materials or debris from the interior of the kiln. Apply a coat of kiln wash to the walls, following the manufacturer’s instructions,
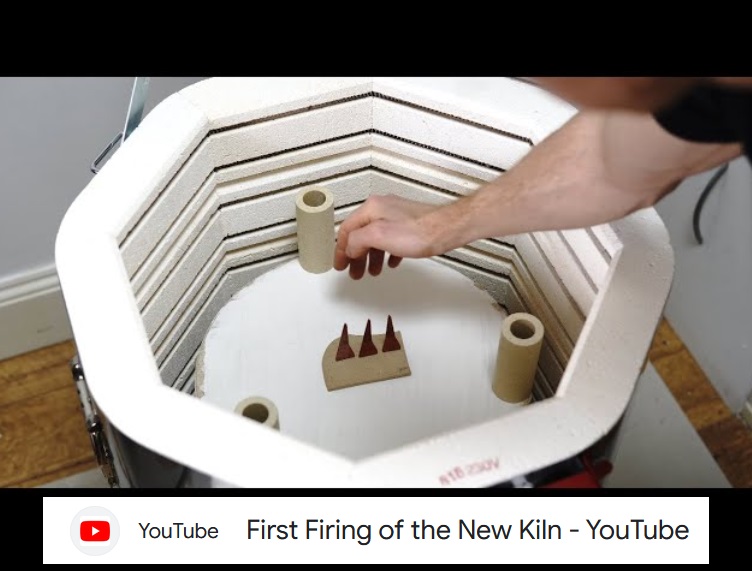
2. Load the Kiln – place a kiln sitter (if using) on the kiln shelf. Arrange your test pieces, such as kiln shelves, kiln wash samples, and test tiles, on the shelves. Avoid overcrowding the kiln, as this can hinder airflow and prevent even heating,
3. Set the Temperature – refer to your kiln manual for the recommended test firing temperature. This is typically around cone 06 or cone 04. Set the pyrometer to the desired temperature,
4. Start the Kiln – plug in the kiln and begin the firing process. Follow the heating schedule outlined in your manual. Monitor the temperature using the pyrometer and make adjustments as needed,
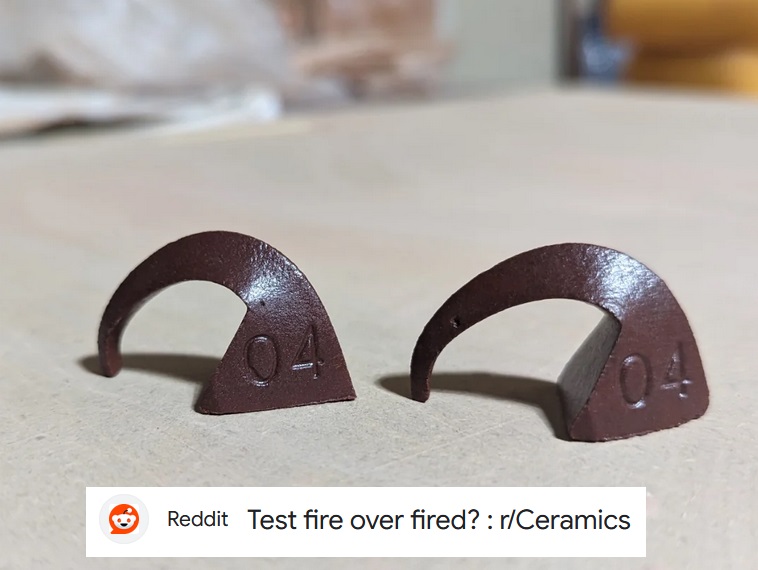
5. Check Cones – as the kiln reaches the target temperature, periodically check the cones. When the cone melts to a specific point, it indicates that the desired temperature has been reached,
6. Cool Down – once the desired temperature is achieved, turn off the kiln and allow it to cool gradually according to the recommended cooling schedule. Avoid rapid cooling, as this can cause the kiln to crack.
Video example of first firing of a new kiln (Skutt KMT 818)
Troubleshooting Common Issues
Uneven Heating
If you notice uneven heating, check the kiln’s ventilation and ensure that the shelves are not blocking airflow. Consider rearranging your test pieces to improve circulation.
Temperature Fluctuations
Temperature fluctuations can be caused by power surges or variations in the ambient temperature. If you’re experiencing this issue, try using a voltage stabilizer or relocate the kiln to a more stable environment.
Kiln Wash Damage
If the kiln wash is damaged or peeling, reapply a fresh coat following the manufacturer’s instructions.
Smoke or Fumes
Excessive smoke or fumes can be a sign of improper ventilation or the use of incompatible materials. Ensure that the kiln is in a well-ventilated area and avoid firing materials that are not suitable for your kiln.
My conclusions 🙂
Test firing a new kiln is an essential step in ensuring its proper functioning and preventing costly mistakes. By following the guidelines outlined by me in this guide, you can for sure successfully complete your test firing and prepare your kiln for your future projects. Remember to always consult your kiln manual for specific instructions and safety precautions.
Happy firing!